
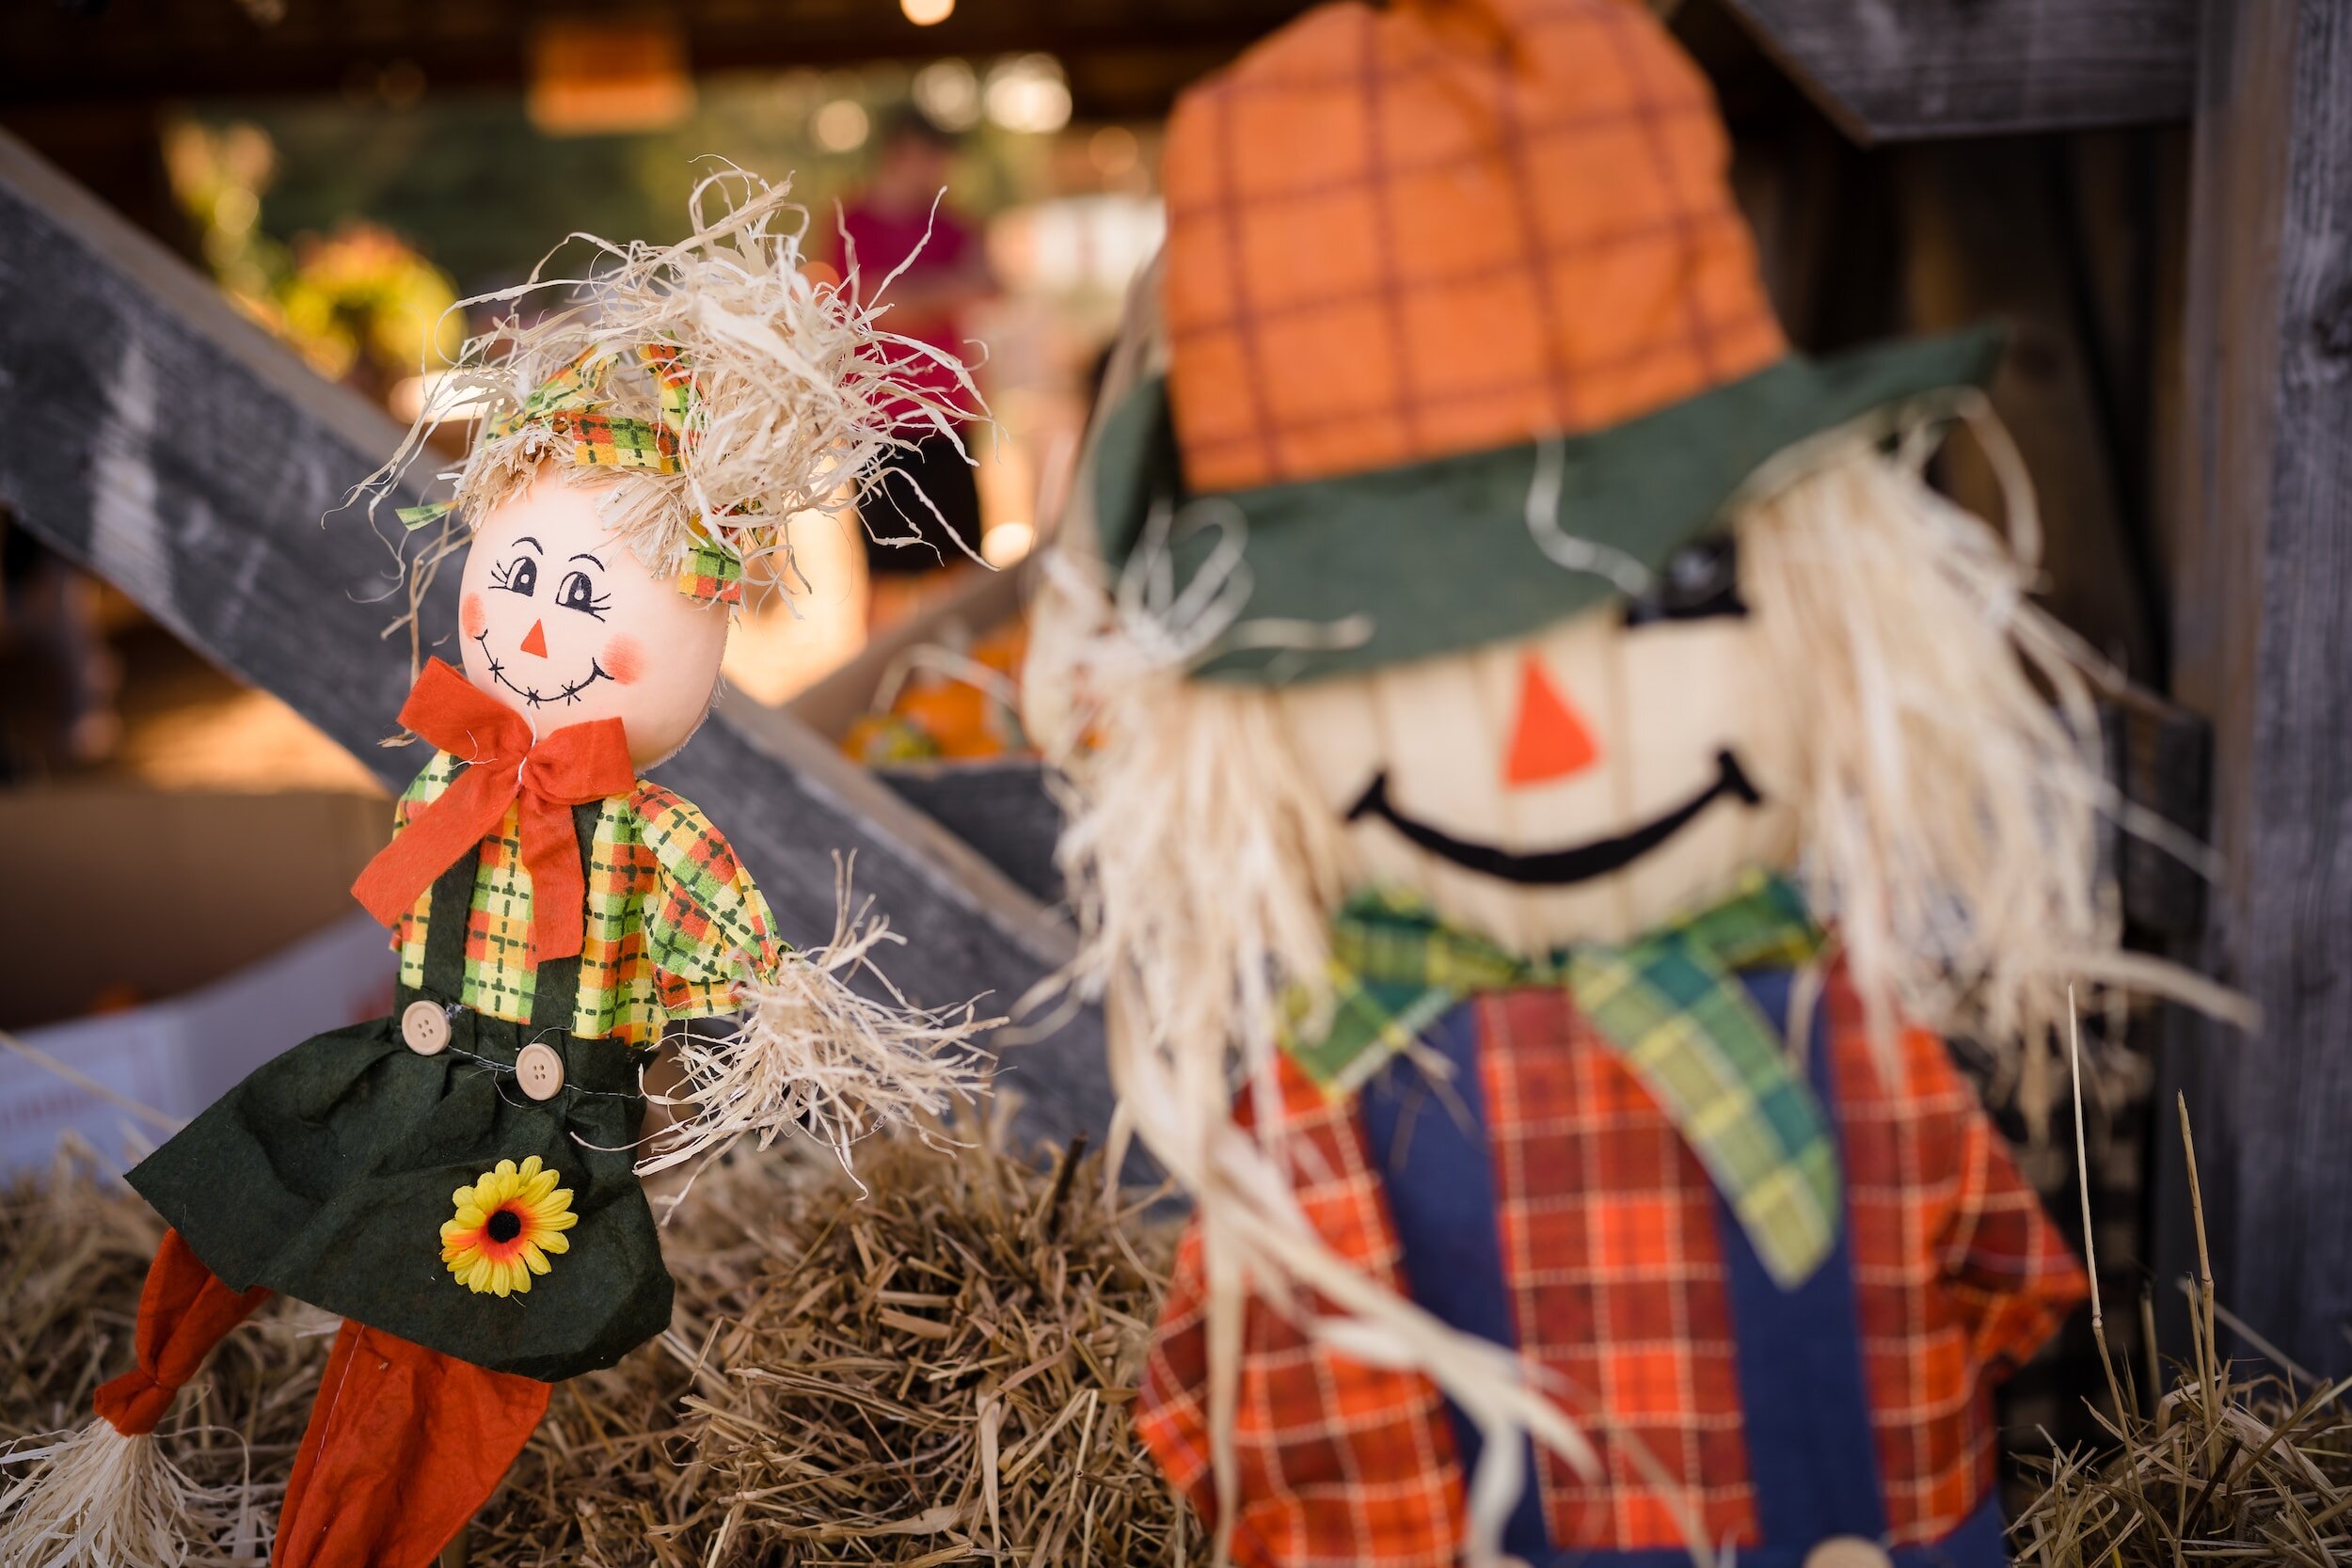
National Scarecrow Competition
This year, for the first time, come and take part in the national scarecrow competition. The festival has also introduced a new green category in the scarecrow competition.
While you're waiting for the big day, here are a few tips on how to make your scarecrows a success.
How to Make Your Own Scarecrow: A Step-by-Step Guide
Scarecrows have been guarding fields and gardens for centuries, scaring away pesky birds and critters that threaten our precious crops. Creating your very own scarecrow can be a fun and creative project, adding a touch of rustic charm to your garden while protecting your plants. In this step-by-step guide, we'll show you how to make your own scarecrow from easily accessible materials.
Materials Needed:
A wooden stake or post (about 5-6 feet tall)
Old clothes (flannel shirt, jeans, gloves, hat, etc.)
Straw or hay
Burlap sack or old pillowcase
Twine or garden wire
Scissors
Nails or screws
Hammer or screwdriver
Permanent markers or paint (optional)
Old newspapers (optional, for stuffing)
Step 1: Choose a Location
Select a suitable spot in your garden or field to place your scarecrow. Make sure it's visible to birds and other pests that you want to deter.
Step 2: Prepare the Frame
Take the wooden stake or post and drive it into the ground at your chosen location, leaving about 1-2 feet above the ground. This will serve as the scarecrow's spine. Ensure it's stable and securely anchored.
Step 3: Dress Your Scarecrow
Dress your scarecrow with old clothes. Place the flannel shirt on the post, sliding the arms over the top of the stake to make it look like the scarecrow is wearing it. Add the jeans or pants and gloves to the lower part of the post.
Step 4: Create the Head
Fill the burlap sack or old pillowcase with straw or hay to create the scarecrow's head. Leave enough space to tie it off securely. Use twine or garden wire to secure the top, forming a round head shape.
Step 5: Attach the Head
Slide the scarecrow's head onto the top of the stake or post. Make sure it's positioned securely, and the head is level with the shoulders.
Step 6: Secure the Clothes
Use twine, garden wire, or nails to secure the clothing to the frame. Be sure to fasten the clothes tightly to prevent them from blowing away in the wind.
Step 7: Add a Face (Optional)
If you want to give your scarecrow a friendly or spooky face, use permanent markers or paint to draw eyes, a nose, and a mouth on the burlap sack or pillowcase.
Step 8: Finish with Details
Get creative by adding accessories like a hat or a bandana. You can also stuff old newspapers into the clothes to give your scarecrow a more realistic shape.
Step 9: Stand Back and Observe
Place your scarecrow in your garden and watch as it guards your plants. Move it occasionally to keep the birds guessing.
Step 10: Maintain Your Scarecrow
Over time, your scarecrow may need some maintenance. Replace any worn-out clothing, reinforce any loose attachments, and fluff up the straw in the head if it starts to sag.
Creating your own scarecrow is a fun and practical way to protect your garden from unwanted pests while adding a touch of personality to your outdoor space. By following this step-by-step guide, you can enjoy a more fruitful and charming garden. Happy scarecrow making!